Finding a pool leak is the part everyone focuses on, and for good reason, it’s the hardest part to do without professional equipment. But once dye testing, pressure testing, or acoustic listening has pinpointed the exact source, a different question comes up almost immediately. Okay, you found it. Now what actually happens to fix it?
The honest answer is that “pool leak repair” isn’t one procedure. It’s a different fix depending on what failed and what your pool is made of, and the range runs from a fifteen-minute underwater patch to a more involved plumbing repair. Knowing what to expect at this stage helps you understand the quote you’re given and why a small confirmed leak often costs far less to fix than the detection process made it seem like it might. Here’s how each type of pool leak actually gets repaired once it’s been located.
Vinyl Liner Repairs: Often the Simplest Fix of All
If your pool has a vinyl liner and the leak turns out to be a seam separation, a puncture, or a tear near a fitting, you’re often looking at one of the more straightforward repairs in the whole category.
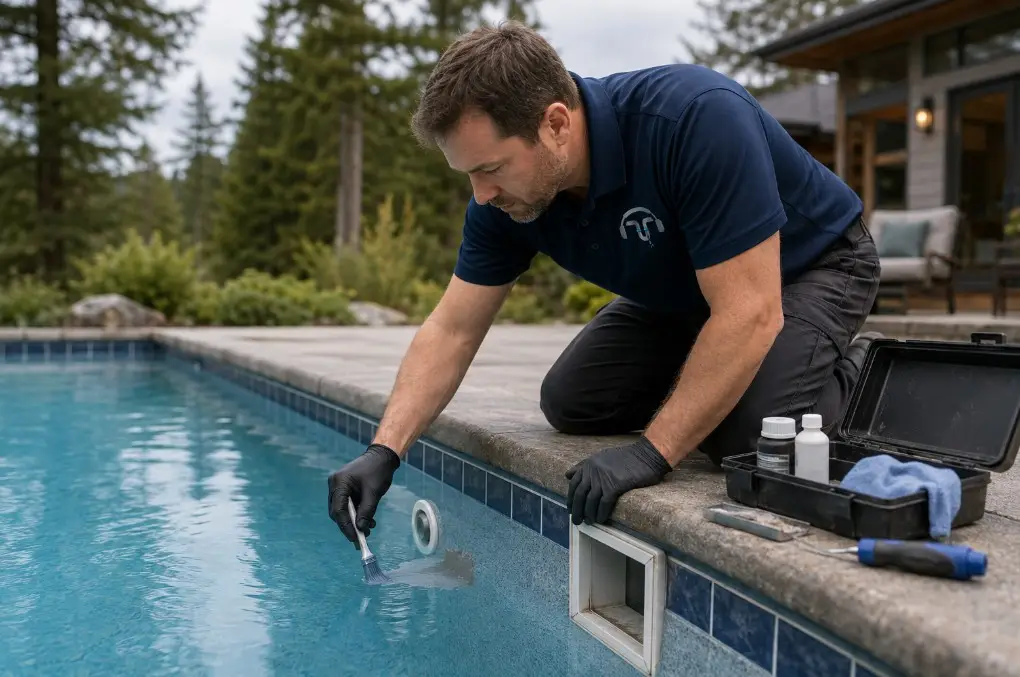
Once the exact spot is confirmed, a technician applies a vinyl patch, cut slightly larger than the damaged area, using an adhesive designed to bond underwater. The patch is applied directly over the tear or seam failure, pressed into place, and cured without needing to drain the pool. For most seam and puncture leaks, this can be done in a single visit.
Leaks at gaskets, the main drain, steps, or wall return fittings are handled a little differently. Rather than patching the liner itself, the degraded gasket is replaced and the fitting reseated, since the liner material at that spot was likely fine, it was the seal around the fitting that failed. This is a common repair on older vinyl pools, since gaskets are a wear item with a shorter lifespan than the liner itself.
The main limitation with vinyl repairs is condition, not the repair method. A liner that’s old, brittle, or faded from UV exposure may patch successfully but is also a sign the liner is approaching the end of its useful life, and a pattern of repeated leaks in different spots is often the liner telling you it’s time for a replacement rather than another patch.
Fiberglass Repairs: Small Fixes for a Shell That Rarely Fails Big
Because fiberglass shells are molded as a single seamless piece, the repairs tend to be small and localized rather than structural.
The most common fiberglass leak, a fitting or light niche where the silicone seal around the penetration has failed, is repaired by removing the old sealant and resealing the fitting properly, often with the same type of silicone used in original construction. For actual cracks in the gelcoat surface, small cracks and spider cracks are typically repaired with a marine-grade epoxy putty that bonds to the fiberglass surface and cures into a durable, watertight patch.
Because fiberglass has so few structural failure points to begin with, most fiberglass repairs are fast, localized, and don’t require draining the pool. A larger structural crack in a fiberglass shell is rare, but when it happens it’s typically linked to a manufacturing issue, an installation problem, or significant ground movement, and may call for a more involved structural assessment rather than a simple patch.
Concrete and Gunite Repairs: When Epoxy Injection Comes In
Concrete and gunite pools present the most variety in repair complexity, because a crack in rigid concrete can range from cosmetic to genuinely structural.
For most confirmed structural cracks, the standard professional repair is epoxy injection. Epoxy is injected directly into the crack, where it bonds chemically with the concrete itself rather than simply sitting on top of it, effectively welding the crack closed from the inside, and the repaired area often ends up stronger than the surrounding original concrete. This method is especially valuable for cracks along the tile line, which are a common and structurally sensitive leak location in concrete pools.
Leaks at the skimmer, where the plastic skimmer body meets the surrounding plaster or concrete, are typically repaired by removing the failed plaster or caulking at that joint and resealing it, sometimes along with minor patch plaster work. Because concrete pools have a plaster or pebble finish layered over the structural shell, a repair sometimes needs to address both, sealing the structural crack underneath and refinishing the surface layer on top so the cosmetic result matches the surrounding pool.
If a concrete pool’s cracking is tied to ground movement rather than a one-time construction issue, as we covered in our post on how a dry summer triggers slab leaks, repairing the crack without addressing what’s happening in the soil around the pool can mean the same crack reopens later. In those cases, a broader conversation about drainage and soil conditions around the pool is worth having alongside the crack repair itself.
Underground Plumbing Repairs: The One That Depends Most on What Detection Found
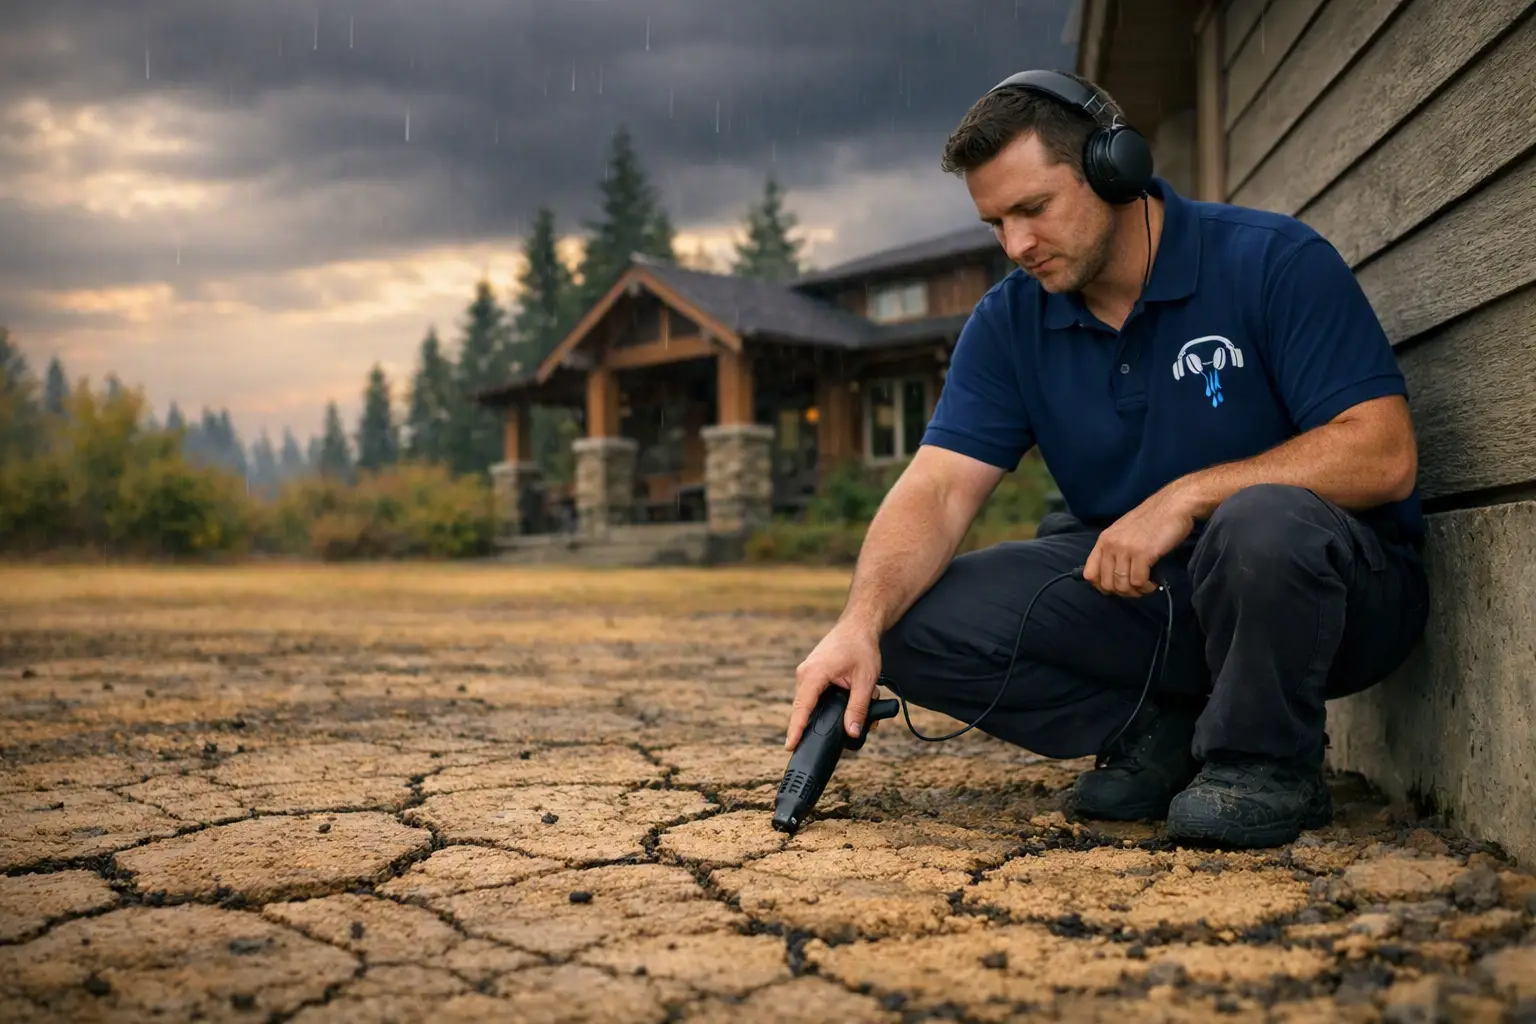
Leaks in the buried supply and return lines are handled differently than shell leaks, because the fix depends heavily on exactly where acoustic detection marked the leak and how the line is routed.
For a single confirmed point failure, a spot repair is usually possible: a small, targeted excavation is dug at the marked location, the damaged section of pipe or the failed fitting is cut out and replaced, and the area is backfilled, disturbing only a small patch of deck or yard rather than the whole line. This is exactly why acoustic pinpointing matters so much in the detection stage. Knowing the leak is at a specific spot, rather than “somewhere along this thirty-foot run,” is what keeps the excavation small.
In some cases, particularly with older plumbing that’s showing multiple failure points or is in a location that’s difficult or invasive to access directly, the more practical solution is to bypass the damaged section entirely with a new line run through a more accessible path, rather than repeatedly repairing an aging run of pipe. This is a judgment call made after detection confirms the extent and location of the problem, weighing the cost and disruption of repeated spot repairs against a single new line.
Why the Repair Is Usually the Small Part
It’s worth sitting with this for a moment: once a leak has actually been found and confirmed, most repairs described here are measured in hours, not days, and many don’t require draining the pool at all. The detection process is what makes that possible. Locating the exact source precisely is what turns “we need to fix your pool” into “we need to patch this six-inch section” or “we need to inject epoxy into this eighteen-inch crack.”
This is the real payoff of not skipping detection and jumping straight to repairs based on a guess. A guess-based repair risks fixing the wrong spot, missing the actual leak, and paying for both the unnecessary work and the still-unsolved problem. A detection-first approach means the repair, when it happens, is targeted, appropriately sized, and addresses the actual cause the first time.
From Diagnosis to a Lasting Fix
Whether your leak turns out to be a vinyl seam, a fiberglass fitting, a concrete crack, or a break in the buried plumbing, the path forward is the same: find it precisely, then fix exactly what failed, nothing more and nothing less. That’s a very different experience than tearing into a deck or draining a pool speculatively and hoping the problem turns up.
If your pool is losing water, call Action Leak Detection at (360) 922-8829. We locate pool leaks precisely and non-invasively, and we’ll walk you through exactly what repair the finding calls for, for pool owners throughout King, Snohomish, Skagit, Whatcom, Island, and San Juan counties.
Finding the leak is the hard part. Fixing it is usually the easy part, once you know exactly where to look.
Action Leak Detection serves Whatcom, Skagit, Snohomish, King, Island, and San Juan counties. We answer 24/7, including weekends and holidays.